
Sustainable Beginnings
Growing up in the United States, I never recycled or anything of that sort. Everything and anything that I needed to dispose of went in the trash bin. Plastic water bottles, cardboard from opening Christmas gifts, half eaten apple cores, potato peels, etc. All those items would just go into the garbage, when they had the potential to be used for something else later in their life. Apple cores and potato peels – to helping grow a garden of new plants. Cardboard from Christmas gifts – to animal bedding. Or plastic water bottles – to part of a toy that a child gets for Christmas. The world of recycling is exciting, but it can be overwhelming for someone just approaching the practice. Something that you would have disposed of still has the opportunity to become something new. I never knew anything about sustainability and how to be a sustainable individual. So, this blog will be all about sustainability practices at UL, how to do it properly, and how to take it back home with you. I am mainly speaking about the US experience of bringing it back, but feel free to take what you will and research for yourself!
My Sustainability Journey at UL
When I first arrived at my accommodation at Plassey Village, I saw a compost bin, recycling bin, and garbage bin. I thought, “Oh man, I am in for a treat. I don’t even know what goes in each bin.” It was overwhelming, at first. I had no knowledge in this particular area. I was not rinsing out my glass when recycling. I was putting raw chicken scraps in the compost. I was doing it all wrong and I kept on making mistakes. I thought this must be so easy, why am I doing it wrong? I just was not educated on this, and it was so new. It was frustrating, in the beginning. But at the same time, it was new, exciting, and I was doing something good for the planet! Now, I love being able to recycle and compost. Just knowing I am doing something good for the planet is a nice feeling and I want to take these practices back home with me!
I was also able to get involved with a sustainability project through UL student volunteering at the UL FabLab. In this project, we were mainly working to make a workshop that was able to reuse precious plastics that the UL campus disposed of. You can learn more about precious plastics and current initiatives here. We utilized kitchen appliances, the laser cutter, extruder, shredder and other devices. Additionally, I was able to learn about the laser cutter, all sorts of 3D printers, other tools, and so much more! It was very hands-on. It was a great opportunity to contribute towards the environment and learn about cool things (that I was very interested in)! There are many ways to get involved in sustainability opportunities through the UL volunteering page. And an added plus of this is it will contribute your hours towards the Presidents Volunteer Award (PVA), which goes directly on your UL transcript! There are also many sustainability opportunities you can find in the city of Limerick. I learned so much during this opportunity and had lots of fun! I would recommend getting involved in any way when you come to UL!
Learning Sustainability – How to Do It Right
Now, here are some guides on how to do each one correctly! All the pictures that I use here are the bins that Plassey Village supplies and may look different for you.
Compost
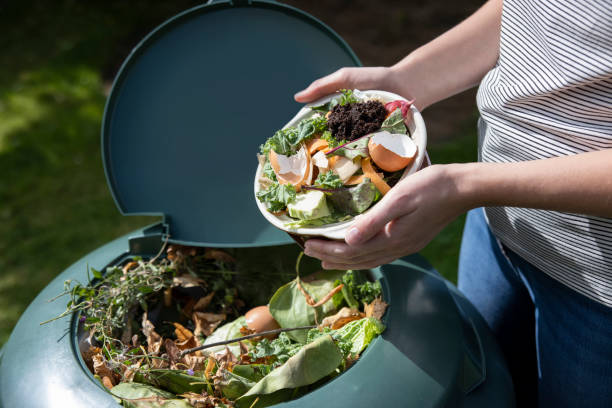
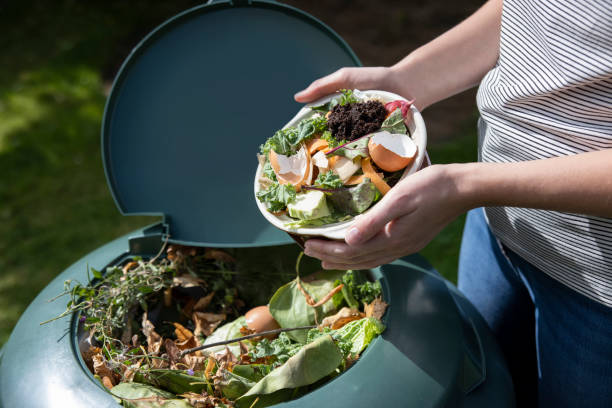
The compost bin is for all organic waste. It can be later processed into nutrient-rich compost for soil or used to generate renewable energy through anerobic digestion. Learn more about it here.
Items that can be put into a compost bin:
- Fruit, veggies, and green waste
- Meat and fish
- Teabags and coffee
- Bread, pasta, and rice
- Dairy products
- Crushed eggshells
- Paper and wood
Items that cannot be put into compost bin:
- Bones from animal waste
- Oil, grease, or butter
- Glossed/waxed paper
- Styrofoam
- Dirty Napkins
Recycling
Normal Recycling
When speaking of normal recycling, I am speaking of the recycling bin you may find in public or in your household. All the items put in here are recycled to later become new products and reduce pollution. These items should all be rinsed out, cleaned, and dried. Make sure to check on the packaging to see if certain parts should be thrown away or recycled.
Items that can be put into a normal recycling bin:
- Tins and cans
- Plastic bottles, pots, tubs, and trays
- Paper and cardboard
Items that cannot be put into a normal recycling bin:
- Greasy or waxed cardboard, or paper
- Plastic film/bags
- Paper towels/napkins
- Compostable items
- Electrical items
- Batteries
- Glass (separate bin for this)
Deposit Return Scheme
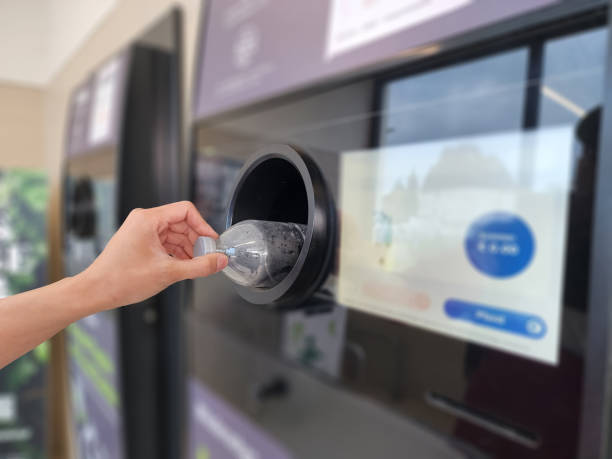
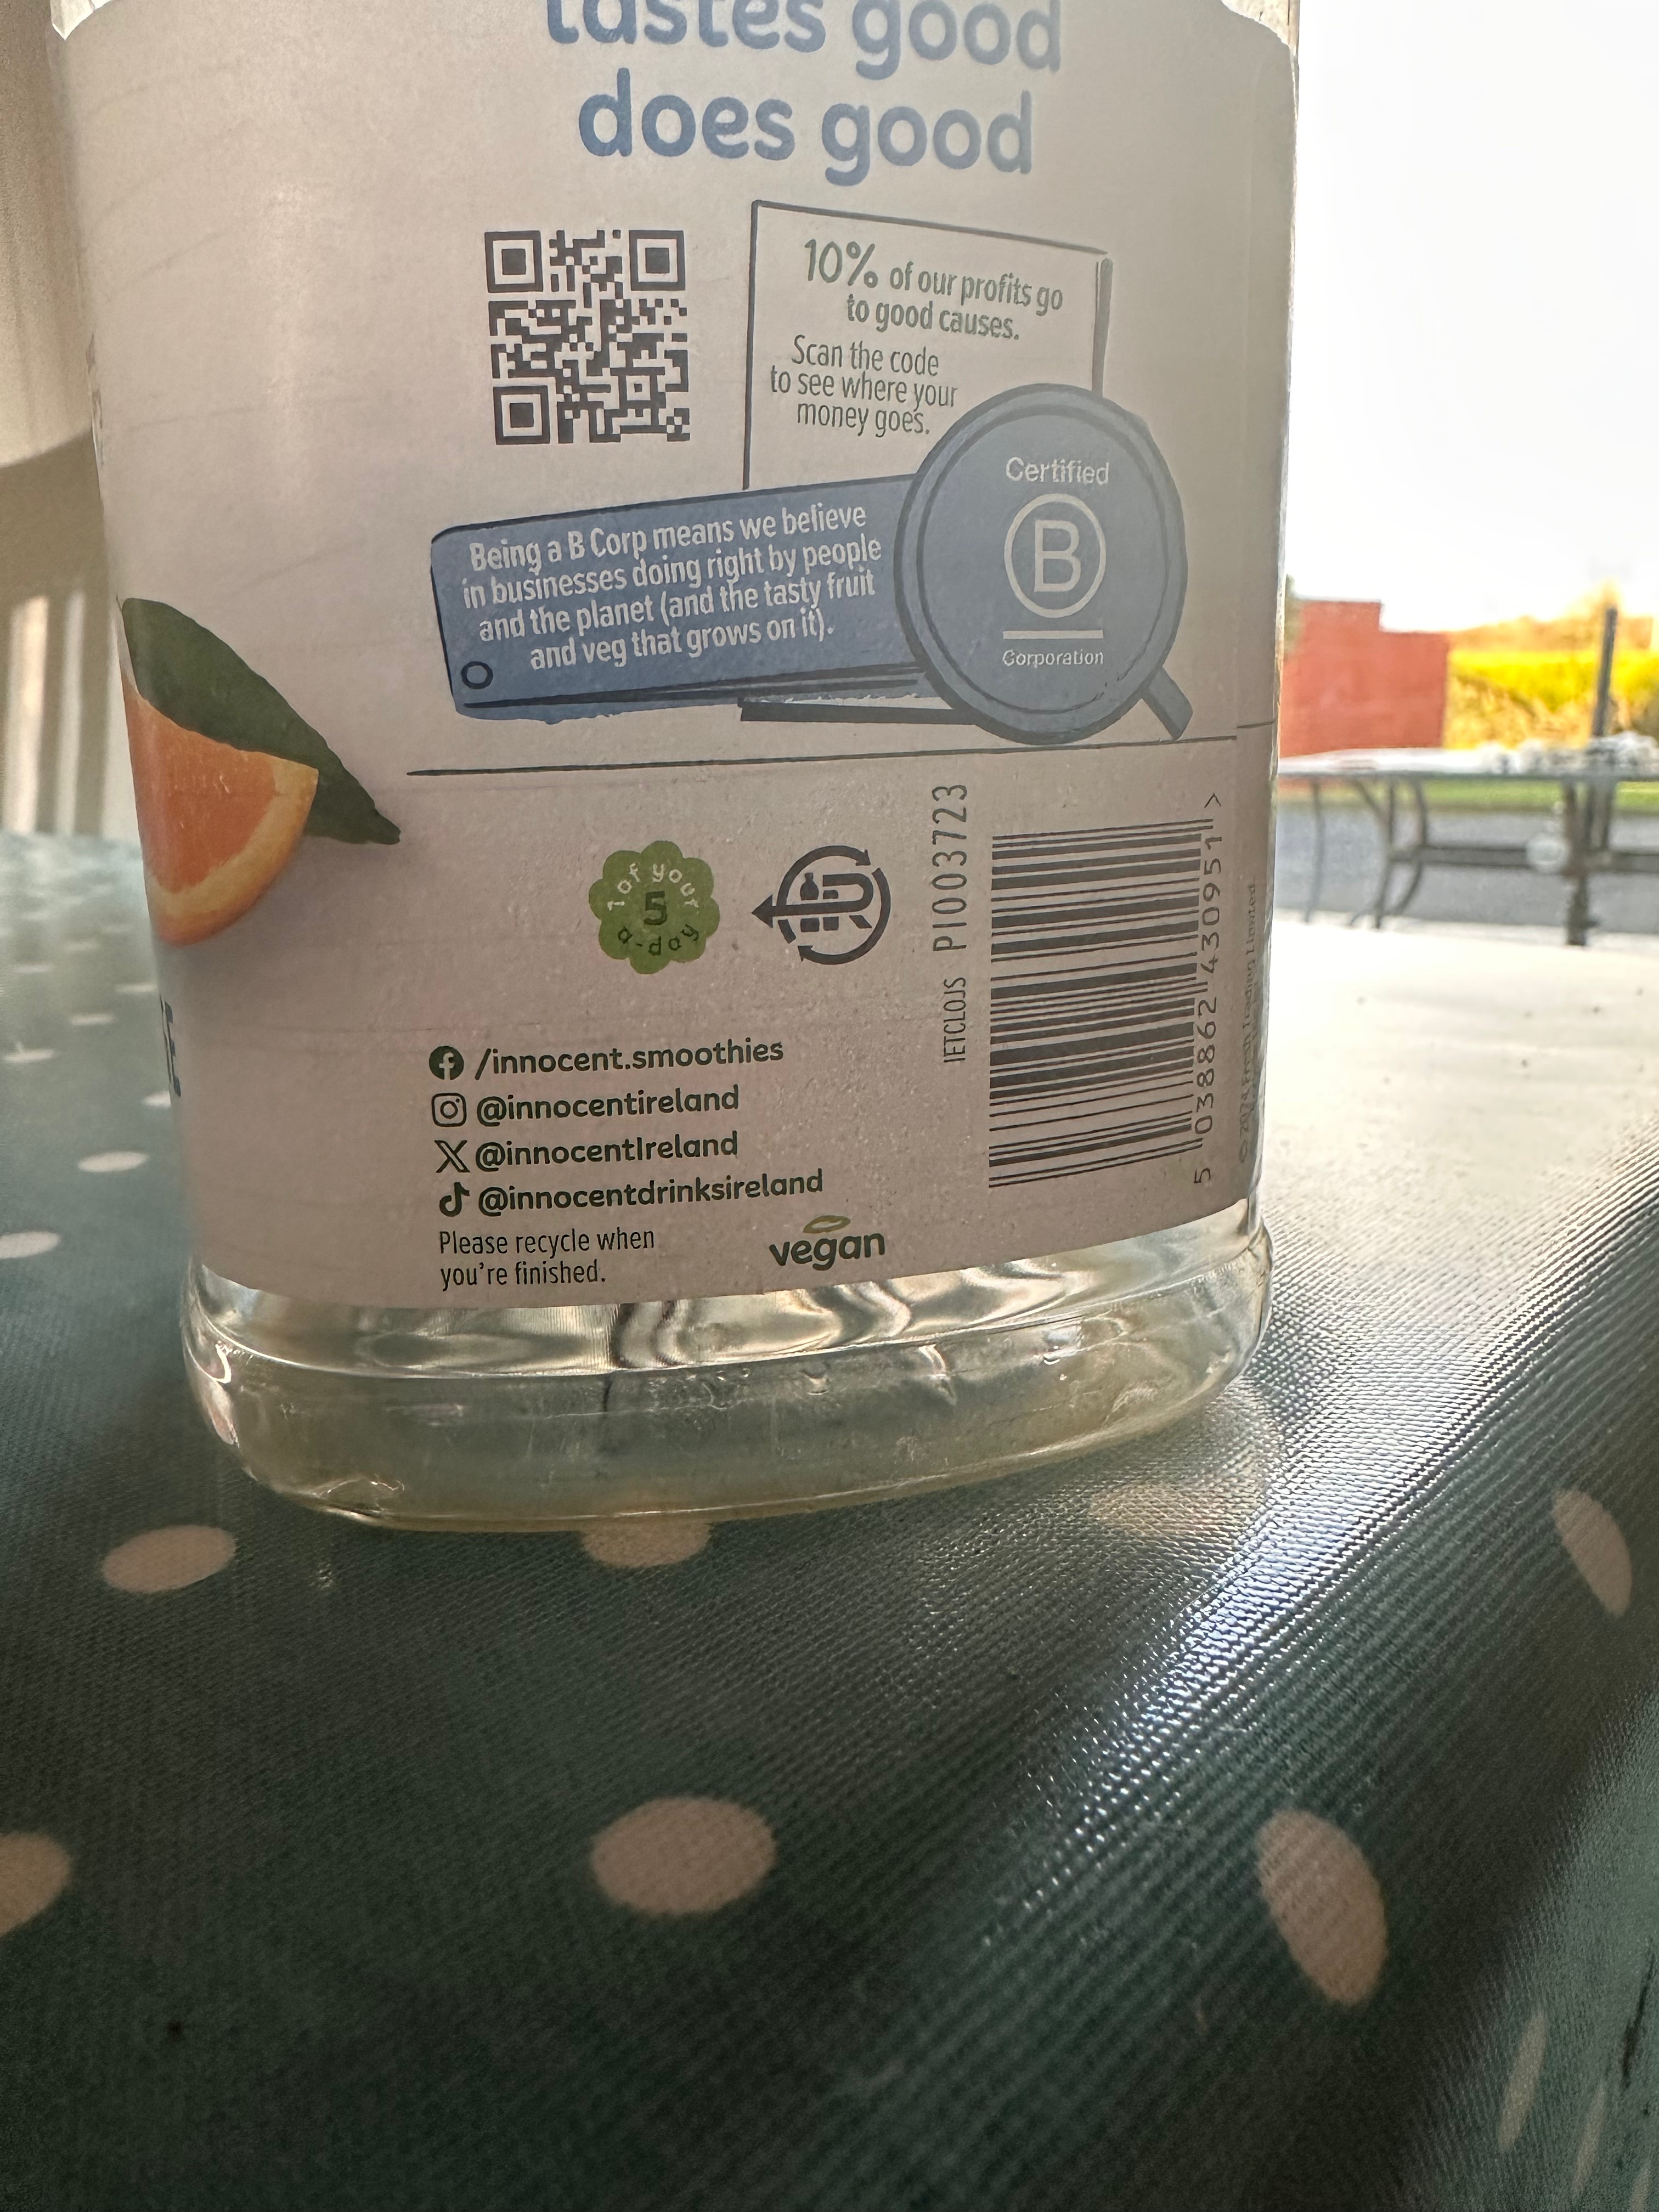
The deposit return scheme is an initiative that was launched 1, February 2024 that aims to collect high value recyclables, like plastic bottles, and reduce waste in Ireland. How it works is when you purchase a plastic bottle/can from an establishment you are charged a small refundable deposit on top of the cost of the item and then you can go to one of these machines to get this credit. You can use this credit in the stores that you return it to or some other benefits that equate to the amount you were charged. You can learn more about it here. These machines can be found in many grocery stores or even on the UL campus (near the Stables and behind the Main Building). You can locate the machines here. The logo for the items that can be returned to these machines that look like this.
Glass Recycling
You can recycle glass items on the UL campus at either Main Building, Adjacent to Block E Murphy Tower (Tower 12) or Main Building, Adjacent to Block B McLaughlin Tower (Tower 5). You can also find a local bottle banks near you to recycle glass here. Make sure to remove lids/caps, rinse/clean the glass, and dry the glass thoroughly before giving it to the bottle bank.
Items that can be put into glass recycling:
- Glass bottles
- Glass cans
- Glass Jars
- Pretty much any glass
Items that cannot be put into glass recycling:
- Lids/Caps of glass items
- Ovenware glass (Pyrex)
- Ceramics
- Mirrors
- Light bulbs
- Crystal glass
- Glass with lots of paper or foil attached to it
- Anything that is not glass (labels on glass are fine)
Electronics Recycling
You recycle different electronic devices depending on size and item type. More information can be found here. UL has a small WEEE recycling bin for small electrical devices.
Trash
Items that cannot be put in any of these categories most likely belong in the trash or a donation center. You can donate to almost any charity shop and can find information on this on their website. Also, at the end of each semester, each student accommodation will allow you to give donations to each reception. Now, back to trash.
Items you can put in the trash:
- Paper Towels/Napkins
- Broken glass/crockery
- Plastic film/bags
- Greasy/Waxed cardboard
- Covid 19 tests and face masks
- Foam or Styrofoam
- Animal Bones
- Household waste
- Sanitary Items
- Hygiene Items
Items you should not put in the trash (because they can be put somewhere better J):
- Any glass that can be recycled
- Compostable food
- Green waste
- Wood/Paper/Cardboard (Unless soiled)
- Tins/Cans
- Plastic bottles
- ANYTHING RECYCLEABLE!!!!
Items you cannot put in the trash:
- Batteries
- Electronics
- Medical Waste
- Liquids
- Appliances
- Chemical Waste
- Light Bulbs
Sustainability Opportunities Back Home
Composting
Composting is the process of recycling organic materials that you don’t need any more by managing the biological decomposition of these materials by microorganisms. The goal of this process is to get compost, which is a product that can be used to build soil health and give nutrients to the plants. It is best for gardening and just helping a plant friend out. Most of all you are helping to reduce greenhouse gases and saving the planet! You can learn more about composting here.
How to Compost
There are many different ways to compost there are backyard composing, vermicomposting, or just giving compost to someone who may want it! The main benefit that most people will compost for is gardening! Compost is great for gardening as it helps to build a strong and healthy plant. If you see a plant in need, give it the compost. If you have house plants, like basil, give them the compost! The gardening potential for compost is endless. But, if you do not garden, do not worry. Most likely, there are people around you that need that precious compost. There may be local/community composting programs, or you may have a neighbor/friend that gardens and they may want your extra compost to grow their little friends. You can help save the environment by composting and possibly save yours, or others’ plants too!
Ingredients You Can Use for Both Composting Methods:
- Fruits & Vegetables Scraps (“Greens”)
- Grass Clippings (“Greens”
- Coffee Grounds
- Paper Filters & Paper Tea Bags (no metal) (“Greens”)
- Crushed Egg Shells (“Greens”)
- Dry Leaves (“Browns”)
- Plant Stalks & Twigs (“Browns”)
- Shredded Paper (not glossed or colored) & shredded brown bags (“Browns”)
- Shredded Cardboard (no wax, tape, or glue) (“Browns”)
- Untreated Wood Chips
Ingredients You Cannot Use for Both Composting Methods:
- Meat, Fish, & Bones
- Cheese & Dairy Products
- Fats, Oils, & Grease
- Cooked Food (Small Amounts are Fine)
- Compostable Foodservice Ware & Compostable Bags
- Herbicide-Treated Plants & Grass
- Diseased & Pest-Infested Plants
- Treated or Painted Wood
- Pet Waste or Cat Litter
- Dryer Lint
- Glossy Paper
- Produce Stickers
Some of these materials are compostable but composting them at home does not work for these methods specifically. (All information from here)
Backyard Composting
Backyard Composting is a way to create nutrient-rich soil out of your scraps, by layering your “greens” and “browns,” to be then broken down by microorganisms. Here are the steps to successfully backyard composting. (More information here).
Step 1: Obtain a bin.
This is to store your compost in. The size of the bin is very important and the website from above recommends one cubic yard to hold proper temperature and to hold your compost. Piles should not reach more than 5 cubic feet, so that air can reach the microbes in the center of the pile. To avoid rodents, make sure your bin does not have holes in it bigger than ¼ of an inch, this can attract rodents. Make sure that you do not add any meats, dairy products, or greasy foods. And make sure that you cover and bury and food scraps within the pile.
Step 2: Combine the “browns” and “greens”
Your “browns” are carbon rich materials, like the ingredients listed above and your “greens” are nitrogen rich materials. In this step, you mix your “browns” and “greens” to create a 2:1 ratio; twice the amount of “browns” to “greens.” “Browns” are those fibrous dry materials, and the “greens” are those moist, soft materials.
Step 3: Break down “browns” and “greens”
Make your “browns” and “greens” smaller to fit inside your bin. Break them down to fit. Chop fruits and vegetables. Break twigs, or other organic waste. Increased surface area will cause the materials to break down faster.
Step 4: Water your compost
Make sure your compost is nice and moist! Be sure to water it as often as necessary. It should feel as damp as a towel that has just been wrung out.
Step 5: Flip it!
The composting process requires air. So, turn the compost every few days to every few weeks. This can help it break down and keep bad odors away. Foul odor may indicate that your compost needs to be turned or that it is too moist.
Step 6: Gather and use your compost!
Then, kablam! You have fresh compost to be used to feed many plants! It should smell and look like rich soil.
More resources on this topic are available here and here).
Vermicomposting (Worm Composting)
If worms gross you out, you may want to skip this section, because this section is all about using worms to make compost! But, if that sounds interesting to you, you are in the right place! Vermicomposting is using worms to It is good for are lower on space and is like a fun, sustainable, science project! Here are the steps to start vermicomposting! (More information can be found here or here).
Step 1: Obtain a worm bin
Obtain a bin that is made with untreated wood or plastic (like a storage bin). It should be tight fitted and a dark color in order to keep it dark. If you plan to use a plastic storage bin, make sure to drill some holes in the bottom for drainage and then some near the upper sides for air. Then, place this plastic bin inside another bin to catch the drainage from the top bin. This bin can be kept indoors or outdoors in shade. It should be kept 15°C to 25°C for the worms to live comfortably.
Step 2: Obtain additional materials for worm farm
Collect your worms. Not all worms are created equal and only some can be utilized for the purpose of vermicomposting. Most commonly used worms for this purpose are the red wrigglers. You will need about 1 pound of worms for this or 1,000 individual worms.
Then you will need to get your bedding. This can be any of the “browns” listed above. You will need to soak them for about 10 minutes and wring them out until they feel like a wrung-out towel. After that, you will fluff it up and place it within your bin with a handful of soil.
Lastly, the worms will need some food. This can be any of your “greens.” You will want to avoid any citrus fruits or smelly foods (like onions or garlic). Make sure these foods are chopped up into small pieces to decompose them faster.
Step 3: Start your bin and feed the worms!!!
Now, feed the little fellas! Place the worms on top of food and bedding at the bottom. Note that each time you decide to add new scraps (“greens”), cover them with some of the bedding (“browns”). You will always want to make sure that previous food scraps are eaten by worms before you add more.
Step 4: Gather and use the vermicompost
The exciting part! Gathering and using your new vermicompost!! You can start gathering your vermicompost after three to six months that is at the bottom of the bin. It should look and smell like regular soil and be a moist deep blackish brown color!
Recycling
Recycling in the USA is managed at the local level with the support of the government. Meaning, it is up to you to save the environment. Recycling the USA right now is not the best, however, they are aiming to have a recycling rate of 50% by 2030. (Statistic from here). They plan to do this by educating, funding, and accessibility. Right now, Americans have access to community recycling programs, but it costs. So, many wonder, is it really worth the cost? Short answer, yes. You are helping to save the planet! So, how can you do it? You can take what you have learned here with you. How to recycle correctly and the benefits of recycling, contributing to local community programs, and educating others on recycling. You can be the changemaker. So, look for recycling programs back home, participate in the local pickup services, take a bit of effort to rinse and sort your recyclables from your trash. The opportunity is in your hands. Go make it happen!
Conclusions and Action Back Home
Being at University of Limerick, I have learned so much! I learned the impact of sustainability, and I am so grateful for that opportunity. By practicing recycling, I feel like I am making an impact on the future of our world. If I had never been here, I would have never grown in this area. Now, I can take this knowledge back with me and teach others to be sustainable to change our planet for the better! I encourage you to take recycling back with you from this experience and work to change the world with me!







Leave a comment